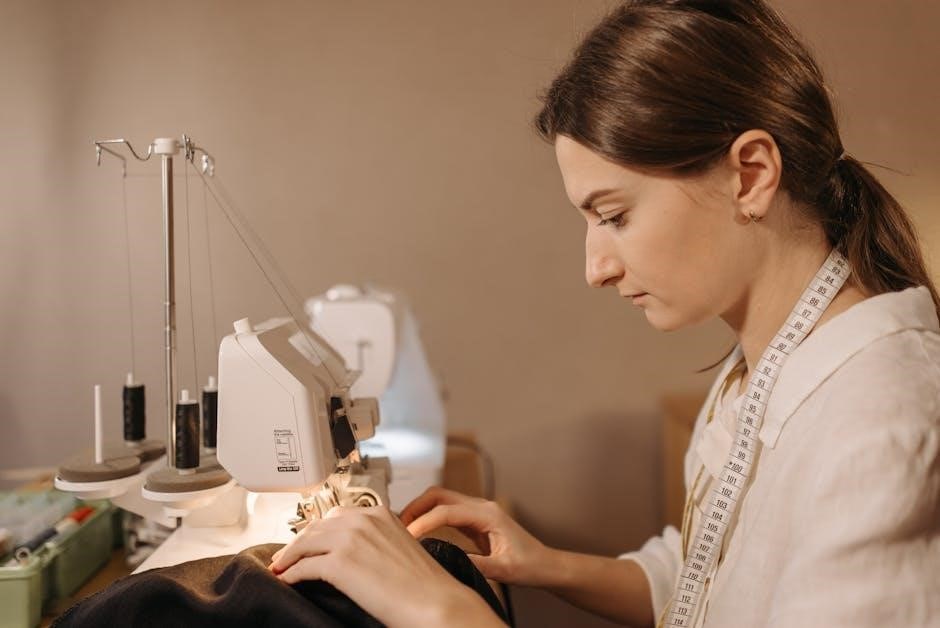
Seam guides on sewing machines are essential tools for achieving straight seams and precise stitching․ They help maintain consistent fabric alignment, ensuring professional-looking results․ Explore their benefits and types here․
What is a Seam Guide?
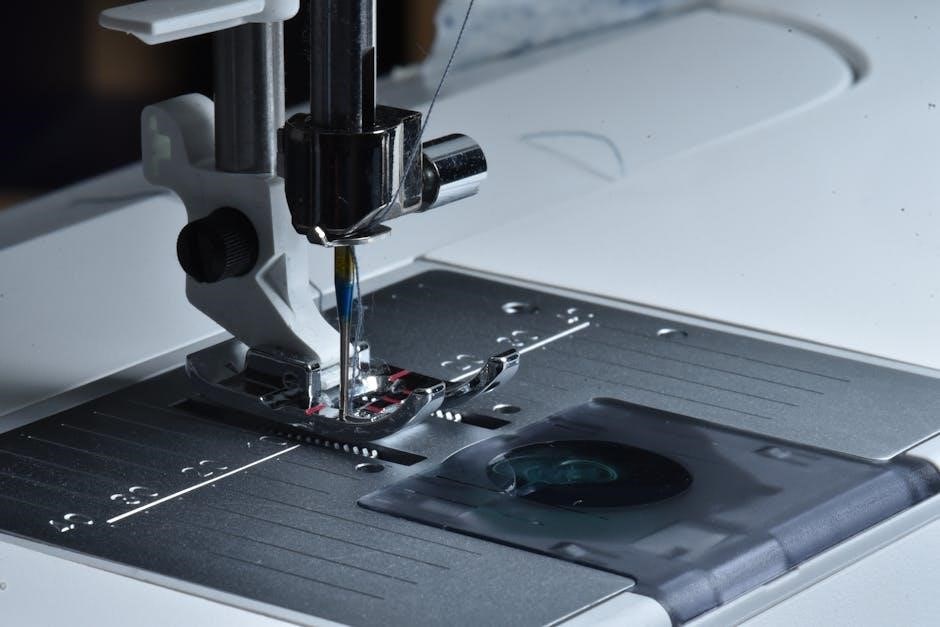
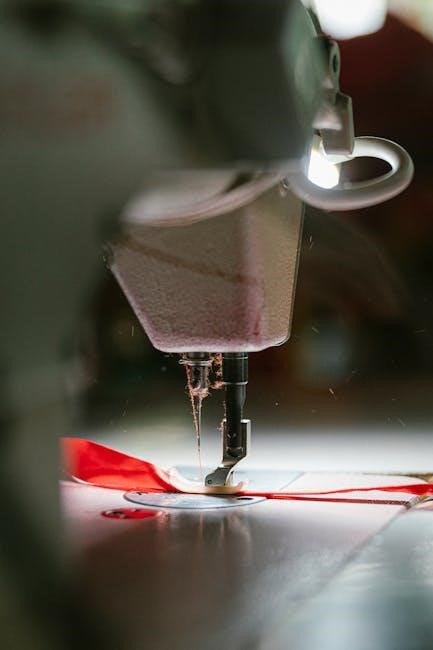
A seam guide is a tool or attachment used on sewing machines to help sewists achieve straight, precise seams․ It is typically placed on the needle plate or throat plate of the machine, providing a visual or physical reference for aligning fabric edges․
Seam guides can be magnetic, adhesive, or built-in, depending on the sewing machine model․ They are especially useful for maintaining consistent seam allowances, ensuring professional-looking results in various sewing projects․ By guiding the fabric evenly, they help prevent misalignment and promote accuracy, making them an indispensable aid for both beginners and experienced sewists․
Importance of Seam Guides in Sewing
Seam guides are crucial for achieving precise, professional-looking seams in sewing projects․ They help maintain consistent fabric alignment, reducing errors and ensuring straight stitching;
By using a seam guide, sewists can avoid misaligned seams, which often require time-consuming corrections․ This tool is especially valuable for beginners, as it simplifies the learning process and builds confidence․
Additionally, seam guides are essential for topstitching and projects requiring exact seam allowances․ They save time and enhance the overall quality of finished garments or home decor items, making them indispensable for sewists of all skill levels․
Types of Seam Guides Available
Seam guides come in various forms, including magnetic, adhesive, and built-in options․ Each type offers unique benefits, catering to different sewing needs and preferences for precision and convenience․
Magnetic Sewing Guides
Magnetic sewing guides are popular for their ease of use and portability․ They attach securely to the sewing machine’s throat plate, providing a clear edge for fabric alignment․ These guides are ideal for maintaining consistent seam allowances and can be easily adjusted for different project requirements․ Their magnetic properties ensure a strong hold, preventing slipping during sewing․ Many sewists prefer magnetic guides for their versatility, as they can be used on various machine models and are simple to install․ They are especially useful for straight-line sewing and topstitching, helping to achieve professional-looking results․ Whether you’re working on garments, home decor, or quilts, magnetic sewing guides offer practical precision and convenience․ They are a must-have tool for sewers seeking accuracy and efficiency in their projects․
Adhesive Sewing Guides
Adhesive sewing guides are a convenient and temporary solution for achieving precise seams․ They are lightweight and easy to apply, making them ideal for projects where a permanent guide isn’t needed․ These guides typically come with a mild adhesive backing, allowing them to stick securely to the sewing machine’s throat plate without leaving residue․ They are perfect for maintaining consistent seam allowances and can be easily removed or repositioned as needed․ Adhesive guides are especially useful for those who prefer a non-permanent solution or want to experiment with different seam widths․ They are also a great option for sewing enthusiasts who work on multiple machines or need a portable guide․ Their ease of use and versatility make adhesive sewing guides a practical choice for various sewing tasks․
Built-In Seam Guides on Modern Sewing Machines
Built-in seam guides are integrated features on modern sewing machines, designed to help sewists achieve precise and consistent seams․ These guides are typically etched or marked directly on the machine’s throat plate, providing a clear visual reference for fabric alignment․ Unlike removable guides, built-in versions are permanent and require no additional installation․ They are durable and long-lasting, offering a reliable way to maintain accurate seam allowances․ Many modern machines also feature adjustable built-in guides, allowing users to customize the seam width․ These guides are especially useful for beginners, as they simplify the process of aligning fabric․ Their integration into the machine ensures seamless operation and reduces the need for external accessories, making them a convenient and efficient tool for achieving professional-quality results․
How to Use a Seam Guide Effectively
Using a seam guide effectively ensures straight, consistent stitching․ Always align fabric edges with the guide, adjust as needed, and maintain steady fabric movement․ Practice makes perfect!
Step-by-Step Guide to Installing a Seam Guide
Installing a seam guide is straightforward and enhances sewing accuracy․ For magnetic guides, place the magnet on the sewing machine’s base, aligning it with the edge․ Adhesive guides require cleaning the surface first, then pressing firmly to ensure adhesion․ Built-in guides are pre-installed but may need adjustment․ Always align the guide with the machine’s edge or needle position․ Test the guide with scrap fabric to ensure accuracy; Adjust as needed for different seam allowances․ Proper installation ensures consistent stitching and straight seams; Refer to your machine’s manual for specific instructions, as models may vary․ A well-installed seam guide is essential for precise results in your sewing projects․
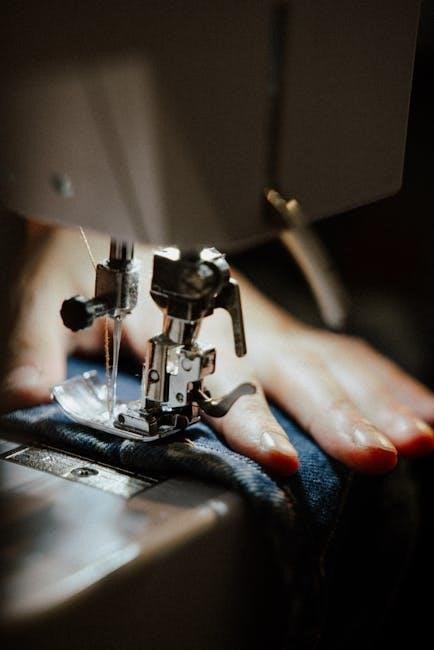
Aligning Fabric with the Seam Guide
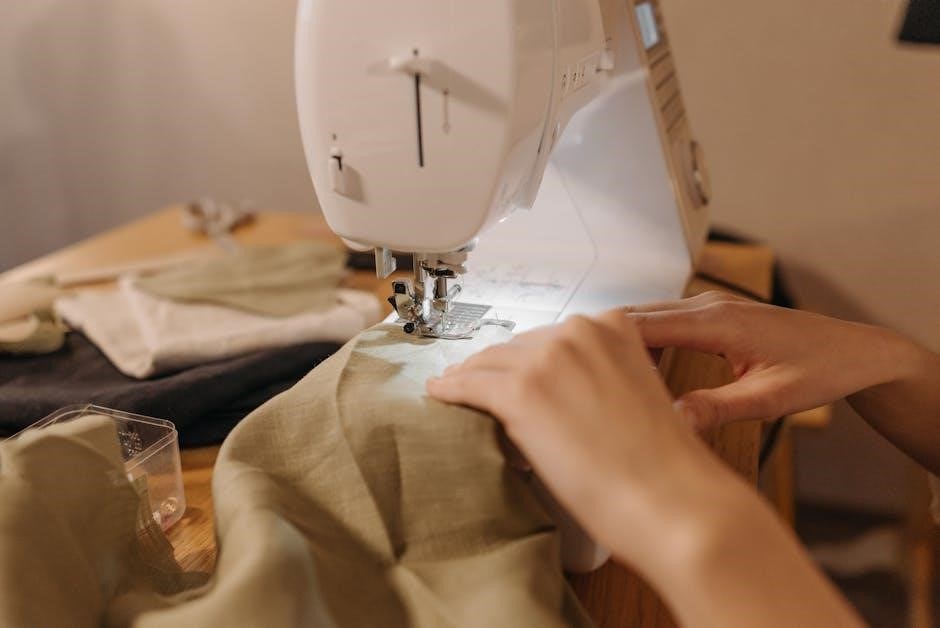
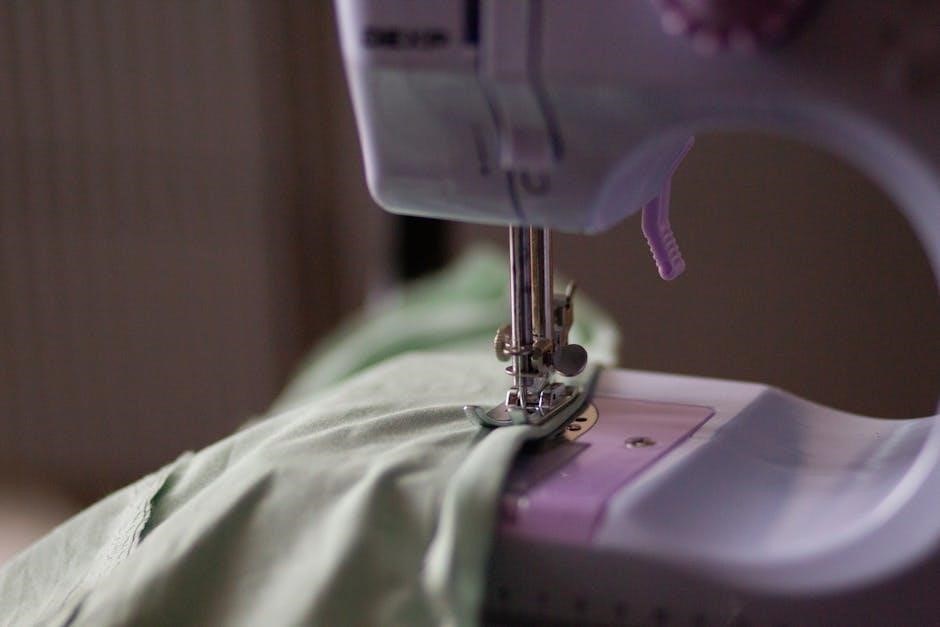
Aligning fabric with the seam guide ensures straight, consistent stitches․ Place the fabric edge against the guide, keeping it flush for accurate results․ Gently guide the fabric as it moves under the needle, maintaining steady pressure․ For straight seams, align the fabric edge with the guide before starting to sew․ Adjust the fabric slightly if needed but avoid pulling, as this can distort the material․ Use the guide to maintain even spacing, especially for parallel lines or hems․ Proper alignment prevents crooked seams and ensures professional-looking results․ Practice on scrap fabric to build confidence․ The seam guide acts as a visual aid, helping you achieve precise, straight stitches every time․
Adjusting the Seam Allowance
Adjusting the seam allowance is crucial for achieving the desired stitching width in your projects․ The seam guide helps maintain consistent spacing by aligning the fabric edge with the guide․ To adjust, move the guide to match your needed seam allowance, typically using a screw or slider․ Ensure the guide is set before sewing to maintain accuracy․ For different projects, modify the allowance as required—wider for quilting, narrower for delicate fabrics․ Test adjustments on scrap fabric to confirm the setting․ The guide acts as a visual aid, helping you keep the fabric steady and aligned, ensuring precise and consistent seams․ Practice adjusting the guide to master various seam allowances effortlessly․
Tips for Perfect Straight Seams
Use the seam guide to align fabric edges consistently․ Maintain steady fabric movement and even tension․ Utilize a walking foot for smooth fabric feeding and precise stitching alignment․
Maintaining Consistent Tension
Maintaining Consistent Tension
Maintaining consistent tension is crucial for achieving straight seams․ Ensure the fabric lies flat and moves smoothly under the needle․ Adjust the machine’s tension dials to prevent fabric from bunching or dragging․ Use a walking foot to help manage thick or slippery fabrics․ Guide the fabric gently but firmly, avoiding pulling or tugging, as this can misalign the seam․ Keep the fabric taut but not stretched, as uneven tension can distort the seam․ Test the tension on scrap fabric before sewing to ensure it’s balanced․ Proper thread quality and needle size also contribute to consistent tension․ By maintaining steady control and using the seam guide, you can achieve professional-looking straight seams every time․
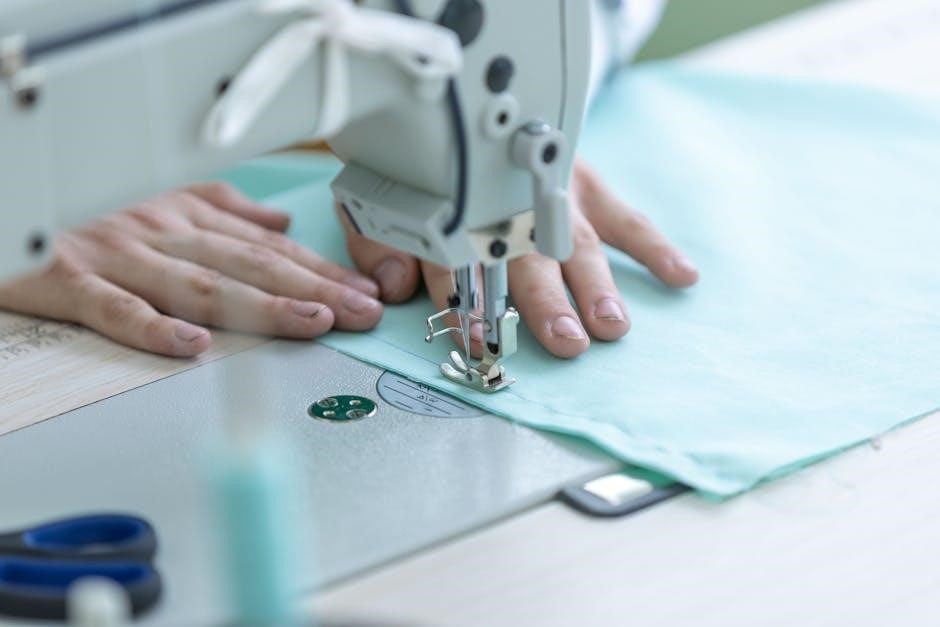
Using the Seam Guide for Topstitching
Using the seam guide for topstitching ensures precise, decorative stitching․ Topstitching enhances both functionality and aesthetics, and a seam guide helps maintain consistent distance from the edge; Align the fabric edge with the guide, keeping it steady as you sew․ This prevents wobbles and uneven spacing․ For straight topstitching, set the guide parallel to the fabric edge․ Use contrasting thread to make stitches visible․ Adjust the stitch length for a bolder or subtler look․ The seam guide also helps when stitching multiple parallel lines, keeping each line evenly spaced․ It’s especially useful for heavy fabrics like denim or canvas․ By combining the seam guide with a topstitching needle, you achieve professional-looking results․ This technique is ideal for garment seams, bags, and home decor projects․
Combining Seam Guides with Other Sewing Tools
Combining seam guides with other sewing tools enhances precision and efficiency․ For instance, using a seam guide alongside an edge joiner ensures perfect alignment of fabric edges․ A walking foot or Teflon foot can be paired with a seam guide to handle thick or slippery fabrics effortlessly․ Additionally, a laser guide or needle down feature on your machine complements the seam guide, providing visual cues for straight stitching․ These combinations are particularly useful for quilting, bag-making, or sewing straight lines on heavy fabrics․ By integrating multiple tools, you achieve professional results with minimal effort․ Experimenting with different tool combinations allows you to customize your sewing process, ensuring accuracy and consistency in every project․ This approach is ideal for both beginners and experienced sewists looking to elevate their skills․
Troubleshooting Common Issues
Identify issues with your seam guide by checking alignment, attachment, and fabric type․ Ensure it’s clean, undamaged, and compatible․ Adjust fabric alignment and consider additional tools like a walking foot for better results;
Why Your Seam Guide Might Not Be Working
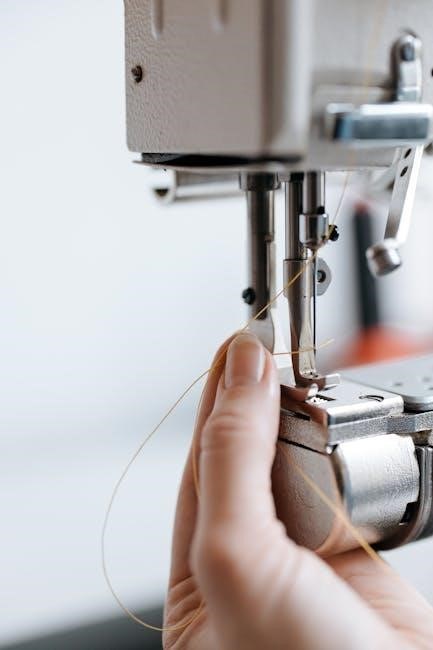
Your seam guide might not be working due to improper installation, dirt, or damage․ Ensure it’s securely attached and aligned with the machine’s edge․ Clean it regularly to remove debris․ If magnetic, check for metal compatibility․ For adhesive guides, verify the surface is dry and free of oil․ Built-in guides may require calibration․ Incorrect seam allowance settings or fabric type can also cause issues․ Always refer to your sewing machine’s manual for specific guidance․ If problems persist, consider replacing the guide or consulting a professional․ Proper maintenance and alignment are key to optimal performance․ Regular checks and adjustments can prevent most issues․
Fixing Misaligned Seams
Misaligned seams can occur due to improper guide positioning or uneven fabric feeding․ To fix this, start by ensuring the seam guide is correctly aligned with the edge of your fabric and the machine’s needle․ Adjust the guide as needed to match your desired seam allowance․ Use pins or clips to secure the fabric, maintaining even tension․ If the fabric shifts during sewing, pause and realign it without pulling․ For consistent results, test your alignment on scrap fabric first․ If issues persist, check the guide’s calibration or consult your sewing machine’s manual for adjustment instructions․ Proper alignment and steady fabric handling are essential for achieving straight, professional-looking seams every time․ Regular practice improves accuracy and reduces misalignment problems․
Preventing Fabric from Slipping
Fabric slipping is a common issue that can ruin the accuracy of your seams․ To prevent this, ensure the fabric lies flat and smooth before sewing․ Use the seam guide to keep the edge aligned, and apply gentle, consistent pressure․ For slippery fabrics like silk or chiffon, consider using a stabilizing material like interfacing or a Teflon foot on your machine․ Pins or fabric clips can also help secure the fabric in place․ Additionally, reduce the machine’s speed to maintain better control․ Properly threading the machine and using the correct needle type for your fabric can also minimize slippage․ Regularly cleaning lint from the machine and ensuring the sewing surface is dry will further improve fabric behavior, allowing the seam guide to perform effectively and keep your seams straight and precise․
Maintenance and Care for Your Seam Guide
Regularly clean the seam guide to remove dust and debris․ Avoid harsh chemicals or abrasive materials that could damage the surface․ Store it in a dry place to prevent rust or corrosion․ Check alignment periodically and adjust if necessary․ Proper care ensures accuracy and longevity, keeping your seams precise and professional․
Cleaning the Seam Guide
Cleaning your seam guide regularly is essential to maintain its accuracy and performance․ Use a soft, dry cloth to wipe away dust, thread fragments, or debris; For more thorough cleaning, dampen the cloth with water or a mild detergent solution, but avoid soaking the guide․ Gently scrub any stubborn residue or stains, paying attention to grooves or magnetic surfaces․ Never use harsh chemicals, abrasive cleaners, or rough materials, as they may damage the finish or weaken magnetic properties․ After cleaning, allow the guide to air dry completely before use․ Regular cleaning prevents buildup and ensures precise alignment, keeping your seams straight and professional-looking․ This simple maintenance step extends the life of your seam guide and enhances sewing efficiency․
Storing the Seam Guide Properly
Proper storage of your seam guide ensures it remains in excellent condition and ready for use․ For detachable guides, remove them from the machine and place them in a protective case or pouch to prevent scratching or bending․ Magnetic guides should be stored away from strong magnetic fields to avoid losing their magnetic properties․ Adhesive guides can be left on the machine if not in use, but cover them with a protective film to keep them clean․ For built-in guides, ensure the machine is clean and dry before storing․ Keep all guides in a cool, dry place, away from direct sunlight or moisture․ Proper storage prevents damage, maintains accuracy, and ensures your seam guide continues to function effectively for future projects․
DIY Seam Guide Options
DIY seam guides offer a cost-effective and customizable solution․ Use magnetic strips or adhesive tape to create your own guides․ Ideal for crafty sewists seeking practical solutions․
Creating a DIY Magnetic Seam Guide
To create a DIY magnetic seam guide, start by gathering materials like magnetic strips, scissors, and a ruler․ Measure the edge of your sewing machine where the guide will be placed․ Cut the magnetic strip to the desired length using scissors or a craft knife․ Ensure the strip is wide enough to align with your fabric but not so wide that it obstructs the machine’s operation․ Attach the magnetic strip along the edge, pressing firmly to secure it․ For added stability, you can glue the strip or use double-sided tape․ Test the guide by aligning fabric against it while sewing․ This DIY option is adjustable and reusable, making it perfect for crafters who prefer customization․ It also allows for easy removal when not in use, ensuring versatility for various sewing projects․
Using Adhesive Tape as a Temporary Guide
For a quick and easy solution, adhesive tape can serve as a temporary seam guide on your sewing machine․ Start by placing a thin, removable adhesive tape, such as masking or washi tape, along the edge of your machine’s arm or base․ Use a ruler to measure and mark the desired seam allowance directly on the tape․ This creates a visible line to align your fabric against while sewing․ The tape is easy to adjust or remove without damaging the machine․ It’s ideal for small projects or when experimenting with different seam widths․ To ensure accuracy, press the tape firmly to prevent it from shifting during use․ This method is perfect for sewists who need a flexible, no-commitment guide for specific tasks․
Mastering seam guides enhances sewing precision and efficiency, ensuring professional results․ Explore tools, techniques, and DIY options to elevate your sewing skills and creativity confidently․
Final Thoughts on Mastering Seam Guides
Mastery of seam guides is a cornerstone of precise and efficient sewing․ These tools are indispensable for achieving straight, consistent stitches, which are essential for professional-looking projects․ By understanding and utilizing seam guides effectively, sewists can save time, reduce errors, and enhance the overall quality of their work․ Exploring different types of guides and techniques will help tailor your approach to various fabrics and stitching needs․ Remember, practice and experimentation are key to fully harnessing their potential․ Embrace the versatility of seam guides to elevate your sewing skills and take your creations to the next level․ With patience and dedication, you’ll master the art of seamless stitching․
Resources for Further Learning
For those eager to deepen their understanding of seam guides, numerous resources are available․ Official sewing machine manuals often provide detailed insights into built-in guides․ Online platforms like YouTube offer video tutorials demonstrating various techniques․ Sewing blogs and forums share personal experiences and tips․ Additionally, sewing classes, both online and in-person, can offer hands-on training․ Books on advanced sewing techniques frequently cover the use of seam guides․ Exploring these resources will help refine your skills, ensuring you make the most of your sewing machine’s capabilities․ These tools are invaluable for sewists of all skill levels, offering insights to enhance precision and creativity in every project;