Welcome to the King’s Plug and Play Wiring Harness Manual․ This guide provides comprehensive instructions for installing and maintaining the wiring harness for your TM400X4ad amplifier‚ ensuring seamless integration and optimal performance․

Overview of the King’s Plug and Play Wiring Harness
The King’s Plug and Play Wiring Harness is a specially designed system for seamless amplifier installation‚ ensuring compatibility and ease of use․ It is tailored for specific amplifiers like the TM400X4ad‚ offering a direct‚ hassle-free connection․ The harness is mounted inside the rear of the saddlebag‚ providing a clean and efficient setup․ Its plug-and-play design eliminates the need for complex wiring‚ making it ideal for enthusiasts seeking a reliable and high-performance audio solution․ This system ensures optimal integration and enhances your riding experience with superior sound quality․
Importance of the Manual for Installation and Maintenance
This manual is essential for the proper installation and maintenance of the King’s Plug and Play Wiring Harness․ It provides clear‚ step-by-step instructions to ensure a seamless setup process‚ minimizing the risk of errors․ By following the guidelines‚ users can optimize the performance and longevity of their wiring system․ The manual also offers troubleshooting tips and safety precautions‚ making it an indispensable resource for both novice and experienced installers․ Adhering to the manual ensures your system operates safely and efficiently‚ delivering the best audio experience․

Components of the King’s Plug and Play Wiring Harness
The wiring harness includes a complete plug-and-play setup with pre-wired connections‚ a mounting bracket‚ and compatible hardware for easy amplifier integration‚ ensuring a secure and stable installation․
Key Features of the Wiring Harness
The King’s Plug and Play Wiring Harness is designed for seamless integration with amplifiers like the TM400X4ad․ It features pre-wired connections‚ durable construction‚ and a compact design․ The harness includes high-quality cables‚ secure connectors‚ and a mounting bracket for easy installation․ Its plug-and-play functionality minimizes the need for extensive wiring‚ reducing installation time and potential errors․ Built-in protective circuits ensure safe operation‚ while the weather-resistant materials enhance durability․ This harness is tailored for Harley-Davidson models‚ ensuring a perfect fit and reliable performance․
Mounting Bracket and Hardware
The King’s Plug and Play Wiring Harness includes a durable mounting bracket designed specifically for the TM400X4ad amplifier․ The bracket is constructed from high-strength materials to ensure stability and longevity․ It comes with all necessary hardware‚ such as screws and bolts‚ for secure installation inside the rear saddlebag․ The bracket’s compact design allows for easy placement without obstructing other components․ Its pre-drilled holes and alignment guides simplify the mounting process‚ ensuring a precise and secure fit․ This ensures the amplifier remains firmly in place‚ even during rough rides․
Compatibility with Specific Amplifiers (e․g․‚ TM400X4ad)
The King’s Plug and Play Wiring Harness is specifically designed for seamless compatibility with the TM400X4ad amplifier․ This ensures a direct‚ hassle-free connection without the need for additional adapters or modifications․ The harness is tailored to match the amplifier’s electrical specifications‚ guaranteeing optimal performance and reliability․ Its plug-and-play design allows for quick installation‚ reducing the risk of electrical errors․ This compatibility ensures that the system operates at its full potential‚ delivering high-quality sound and durability for your motorcycle’s audio system․
Installation Guide
This section provides a detailed‚ step-by-step guide for installing the King’s Plug and Play Wiring Harness for your TM400X4ad amplifier‚ ensuring a smooth and efficient setup process․
Preparing the Vehicle for Harness Installation
Before installing the King’s Plug and Play Wiring Harness‚ ensure your vehicle is properly prepared․ Disconnect the battery to prevent electrical shocks․ Access the rear saddlebag area and clean it to avoid dust or debris interfering with the installation․ Gather all necessary tools and components‚ including the wiring harness and mounting bracket․ Verify compatibility with your TM400X4ad amplifier and ensure all connections are clear of obstructions․ This preparation ensures a smooth and safe installation process․
Step-by-Step Installation Process
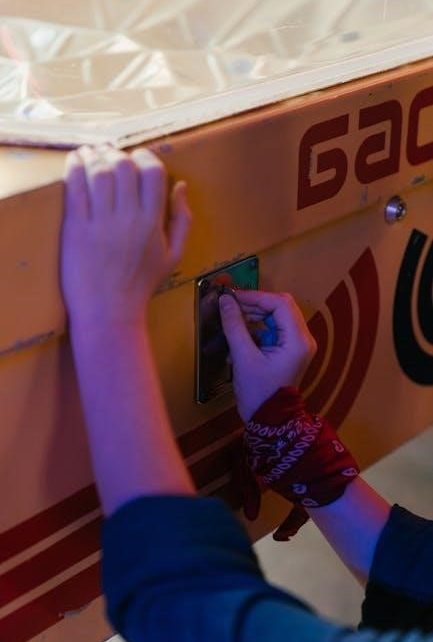
Begin by mounting the bracket in the rear saddlebag using the provided hardware․ Route the wiring harness through the designated openings‚ ensuring no damage or pinching․ Connect the amplifier to the harness‚ matching the color-coded wires to their respective terminals․ Secure all connections with the supplied connectors․ Reconnect the battery and test the system to ensure proper function․ Follow the manual’s detailed diagrams for precise placement and connections‚ ensuring a reliable setup for your TM400X4ad amplifier․
Connecting the Amplifier to the Wiring Harness
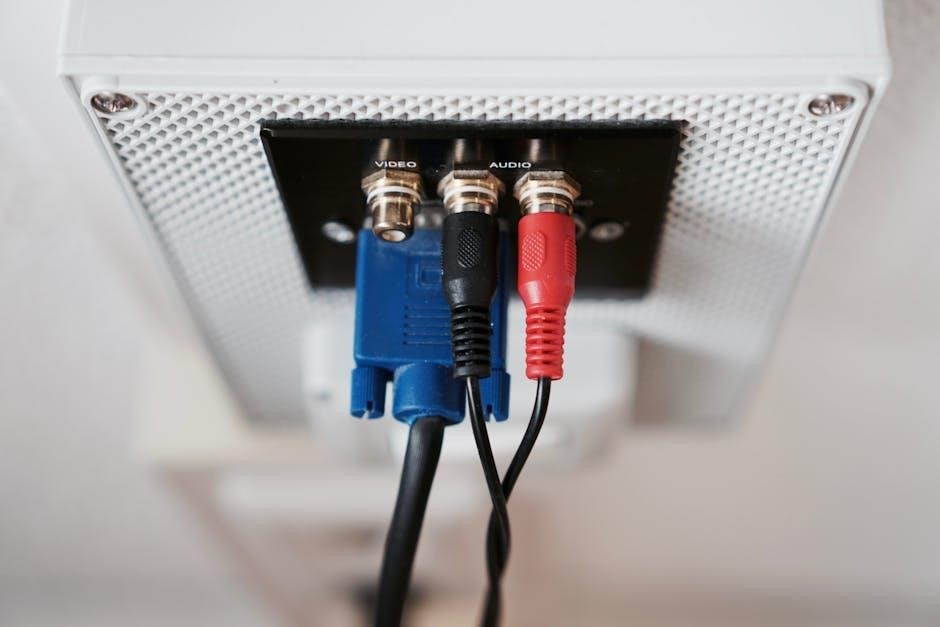
Locate the amplifier’s input and output terminals․ Match the RCA input cables from the head unit to the amplifier’s inputs․ Connect the speaker wires to the amplifier’s outputs‚ ensuring correct polarity․ Secure all connections firmly․ Plug the power wire into the amplifier’s power terminal and route it to the battery via the wiring harness․ Connect the ground wire to a clean metal surface․ Finally‚ plug the remote turn-on lead into the amplifier’s remote terminal to complete the setup․
Final Checks and Testing
Before powering up‚ ensure all connections are secure and correctly routed․ Turn on the audio system and gradually increase volume to test sound quality․ Check for any distortion or electrical noise․ Verify that all channels are functioning properly and that the amplifier is receiving power․ Ensure the ground connection is clean and solid․ Test the remote turn-on functionality to confirm the amplifier activates with the head unit․ Perform a visual inspection of all connections and wiring for any signs of damage or loose terminals․ Cycle the power to ensure stability and reliability․

Troubleshooting Common Issues
Common issues include loose connections‚ blown fuses‚ or incorrect installation․ Start by checking all wiring links and ensuring proper power supply and ground connections․
Identifying and Resolving Electrical Connectivity Problems
Electrical connectivity issues often stem from loose connections or corrosion․ Begin by inspecting all terminals and ensuring they are clean; Use a multimeter to check for continuity and voltage drops․ If a connection is faulty‚ replace the affected wire or connector․ Verify that all ground wires are securely attached to the vehicle’s chassis․ Properly seated connectors and clean contacts are essential for reliable operation․ Always refer to the wiring diagram for accurate troubleshooting․

Understanding Error Codes and Diagnostic Tools
Modern wiring harness systems often utilize error codes to indicate specific issues․ Familiarize yourself with the diagnostic tools provided in the manual‚ such as LED indicators or digital displays․ Error codes like “E01” or “E02” typically point to connection faults or power supply issues․ Use the diagnostic tool to scan the system and identify the root cause․ Refer to the troubleshooting chart in the manual to decode errors and follow recommended solutions․ Regular system checks can prevent minor issues from escalating into major problems․
Safety Precautions and Best Practices
Always disconnect the battery before starting work to avoid electrical shocks․ Wear protective gear and ensure proper ventilation when handling wiring components․ Follow manual guidelines strictly․
Handling Electrical Components Safely
When working with the King’s Plug and Play Wiring Harness‚ always disconnect the battery to prevent electrical shocks․ Wear insulated gloves and safety goggles to protect against potential hazards․ Avoid touching exposed wires or connectors to prevent short circuits․ Ensure the vehicle is on level ground and apply the parking brake․ Use proper tools to handle components‚ and never force connections․ Keep flammable materials away from the work area․ Ground yourself to prevent static discharge‚ which could damage sensitive electronics․ Always follow the manual’s guidelines for safe handling and installation․

Best Practices for Wiring Harness Maintenance
Regularly inspect the wiring harness for signs of wear‚ such as frayed wires or loose connections․ Clean the harness with a soft cloth and mild electrical cleaner to prevent corrosion․ Avoid bending or twisting wires excessively‚ as this can damage the insulation․ Secure the harness with provided mounting brackets to reduce vibration stress․ Apply dielectric grease to connectors to protect against moisture and oxidation․ Store the harness in a dry‚ cool place when not in use‚ away from direct sunlight or extreme temperatures․ Follow these practices to ensure long-term reliability and performance․
Emergency Procedures in Case of Malfunction
- Immediately turn off the power supply and disconnect the battery to prevent further damage․
- Allow the system to cool down if overheating is suspected․
- Inspect the harness for visible damage‚ such as burns or exposed wires․
- Avoid attempting repairs without proper tools or knowledge․
- Consult the manual or contact a certified technician for professional assistance․
- Document the issue for reference when seeking expert help․
- If severely damaged‚ store the harness in a dry‚ protected area until replacement․

Maintenance and Upkeep
Regular maintenance ensures optimal performance and longevity․ Clean the harness gently‚ inspect for wear‚ and store properly when not in use for protection․
Regular Cleaning and Inspection of the Harness
Regular cleaning and inspection are crucial for maintaining the King’s Plug and Play Wiring Harness․ Use a soft cloth to wipe away dirt and debris‚ ensuring all connections remain clean․ Inspect the harness for signs of wear‚ such as frayed wires or loose connections․ Address any issues promptly to prevent electrical malfunctions․ Proper maintenance ensures reliable performance and extends the lifespan of your wiring system․
Scheduled Maintenance for Optimal Performance
Scheduled maintenance is essential to ensure the King’s Plug and Play Wiring Harness operates at peak performance․ Regularly inspect all connections and wiring for wear or damage․ Follow the manufacturer’s recommendations for cleaning and updating components․ Replace any worn-out parts promptly to prevent electrical issues․ Additionally‚ use diagnostic tools to verify the harness’s functionality․ Consistent upkeep ensures reliable power delivery to your amplifier‚ maintaining sound quality and system durability over time․ Stick to a maintenance schedule to avoid unexpected malfunctions and enjoy uninterrupted performance․
Storage and Protection of the Wiring Harness
Proper storage and protection of the King’s Plug and Play Wiring Harness are crucial to maintain its integrity․ Store the harness in a cool‚ dry place away from direct sunlight․ Avoid bending or crushing the wires‚ as this can cause permanent damage․ Use protective covers or cases to shield the harness from dust and moisture․ Ensure the harness is securely fastened during storage to prevent tangling or abrasion․ Regularly inspect stored components for signs of wear or degradation․ Protecting the harness during storage ensures it remains functional and ready for future use․